Sunday, April 22, 2012

Getting there. Armrests, Pedistal Skinning, and Walnut Work.

I got the half round part of the chair base skinned in 1/8" Masonite using glue, clamps and an upholstery stapler.

I also got the side arm rest pieces mostly done (the final assembly of them will take place during upholstering the seat.)


And finally, I got the walnut chopped to rough length and glued them together.


Sunday, April 15, 2012

Seat Done

Got the seat done.  It needs the two small anchor blocks at the base of the side rails, but I will add those closer to upholstery time.


Saturday, April 14, 2012

Assembling the Chair

Got the back of the seat assembled this morning. I will trim the lower back once I finish the seat and can match them together.  All the pieces of the seat have been cut and fitted. I once again used all my clamps but I got the frame glued to the bottom of the seat pan this morning. 

If I have the time tonight and tomorrow, I'll get the seat pan finished, the lower back trimmed, and the whole thing finished and assembled.  Then it's on to the sides and arm rests!


Tuesday, April 10, 2012

The Last Few Curved Pieces

Got the last piece in the jig tonight.  It'll come out tomorrow night and it'll probably be the weekend before I find the time to work on it again. So until next time...

Remember, click the images for larger views.


Sunday, April 8, 2012

Side Rails and Upper Back

Got the Madison side rails and upper back done today.  Here's some pix.

Lining up the first cut.  
I used this perfect little angle cutting jig.  I picked it up from a yard sale last year new in box for $3.  I had no idea what I'd use it for when I bought it but now I am glad I did!  It worked perfectly!


Making the cut.


 Both first angles cut.


Cutting the other side on the band saw.  I cut is just outside the finished line and sanded it to perfection after.


Then I routed all the edges and hand sanded all edges with some 400 grit.


The final result.


Next step, cut and fit the lower back that I clamped and glues this morning, and get started on the curved seat frame parts.


Saturday, April 7, 2012

Starting the Madison

The original Captain Kirk chair was made using a Madison chair as previously stated in this blog.  Well, I've shopped around and decided that I didn't want to wait to find just the right vintage seat to pop up for sale, nor did I want to pay the arm-and-a-leg-price they go for these days so I decided to build my own; once again, I used all the great information from this wonderful forum thread.

Here's some pix from today's progress.

The curving jigs.  These are set up for the seat rails and the upper back.  There are different spacers (top right) to re-use them for the lower back.


 The upper back section ready to be jigged and glued.


The upper back section glued and jigged.


The two flat side rails clamped and glued up.


Here is what is waiting for me tomorrow.  I used all my clamps - literally - so I had to wait on the other curved pieces.  So if I can find the time tomorrow will see the lower back section and at least one of the curved seat rails jigged and glued.  Not pictured are the side rails for mounting the backs to.  I will try to get them done this weekend too.


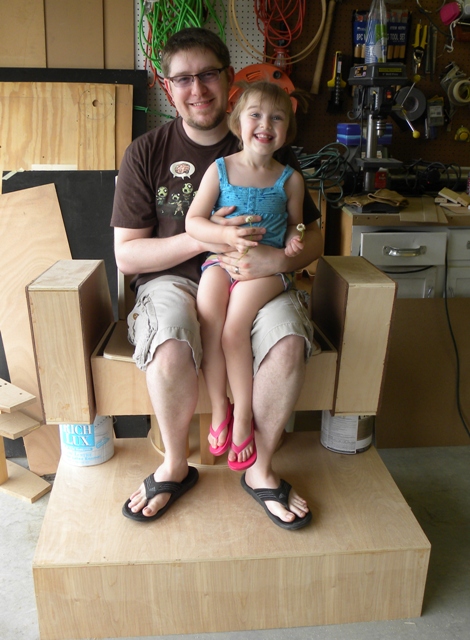
Finally a big thanks to my dad.  He came over today to help me out.  We got all this work done as well as setting up my new air compressor with nailer, build a custom hose reel, and clean off the band saw my uncle donated to my shop and put a new blade on it.  THANKS DAD!


Tuesday, April 3, 2012

LIttle Update

Been super busy with other things but found some time to tinker today.  I decided to go ahead and build a big jig to cut the pieces for my seat bending jig.  A jig for a jig... heh.  There's probably better ways to do this but I wanted to work with the material I had and try out some new construction ideas I thought up.

It's made from a sheet of old plywood (which is screwed onto the saw horses despite those two clamps) a bolt and wing nut with washers and my router.  It's set up to make 48" radius topped boards that I can line up with spacer boards for my jig.


Monday, April 2, 2012

So ThinkGeek.com has posted this awesome seat for sale.  It may be one of their April Fools Day fake items, but wouldn't it be cool to have?  I see me in the big chair and my 3-year-old daughter in this next to me...  :P